

Let’s talk about milk! What’s happening when we’re steaming milk, and how do great baristas achieve such amazing results?
Ask a barista what drinks are most popular in their cafes. Whether it’s a skim latte or a filter coffee with a little oat milk, most of the drinks they serve are going to have some kind of dairy in them. It’s no wonder—milk and coffee taste great together! And in the hands of a skilled barista, milk texture and flavor can take coffee to a whole new level.
Milk Science

One thing newer baristas sometimes forget is that while they are steaming milk, they aren’t just warming up the paint to create a pretty picture on a cup. They’re also cooking food! Milk has four components that make it taste great and help us to produce amazing foam:
Water: milk is predominantly made of water. In addition to keeping you hydrated, water helps milk flow smoothly as it is poured into the cup. If milk were made up of too many other elements, it would be more viscous and harder to pour.
Fat: Fat is what makes milk foam smooth when poured. Not enough fat and the bubbles you produce when steaming will be dry. They will stick to each other, forming “chunks” of foam that don’t pour easily or taste very good. Fat is also necessary to carry flavor to our tongues. Milk fat coats the tongue, helping us perceive its proteins and sugars.
Sugars: The main type of sugar in milk is lactose. When milk is being steamed, lactose is broken down into glucose and galactose, which are perceptibly sweeter sugars than lactose. So while we’re steaming milk, we’re also making it sweeter! Unfortunately, lactose is also what a lactose-intolerant person doesn’t process very well. Fortunately, there are dairy alternatives that are naturally lactose-free (we’ll talk about those in a bit).
Proteins: Milk proteins (of which there are several) look kind of like a wound-up ball of yarn; as we’re steaming, the heat starts to “unwind” the string. The outside “end” of the protein string is hydrophilic (it loves water!), while the inside end is hydrophobic (it does not like water). When the hydrophobic end is exposed to all that water, it looks for a new home. It can either find itself in fat, or (lucky for us) a bubble of air! The hydrophilic and hydrophobic ends of the protein bond the water to the air, helping us to produce a stable foam. Cooking the protein in this way also contributes a pleasant savory characteristic to your milk. Sweet and savory in the same cup. What more could we ask for?
Milk Temperature For Coffee

“Can I get that extra hot?”
If you like drinking extra hot lattes, a barista should make that for you no questions asked! But remember, when we’re making it hot, we’re also *cooking* the milk. Steaming to a very high temperature does have an impact on the flavor and appearance of your drink.
As you’re warming up the milk, it’s becoming sweeter and more savory. There’s a “Goldilocks Zone” between 130-159F where the milk has a sort of perfect balance: not too sweet, not too savory, just right. Stop too soon, and the milk tastes very, very sweet. Go too long, and the milk takes on a burnt, buttery smell—great on popcorn, but not my preference in a cup of coffee. The other consequence of steaming milk too hot is that the proteins keeping the bubbles bound to water start to break, causing your foam to collapse much faster than it would otherwise. Your meticulously crafted drink won’t look or taste as nice as it could!
Latte Art Tips And Tricks
So even though latte art doesn’t taste like anything, it’s a wonderful demonstration of the care and effort the barista is putting into the drink. A carefully poured latte looks good and sets the expectation that it’s going to taste good—after all, you eat with your eyes first.
Steaming Milk

Latte art starts with properly textured milk. Start with cold milk—not frozen, but close to 40F is ideal. Fill your pitcher somewhere between one-third and one-half full. With one hand holding the pitcher handle, and your second hand resting on the side of the pitcher for balance, insert the steam wand just below the surface of the milk, just barely covering the tip of the steam wand. The wand should be positioned at a 10:00 or 2:00 position to create a spinning vortex of milk.
As the milk starts to move, carefully lower your pitcher until you hear a gentle tsch, tsch, tsch sound. It should sound like paper ripping or tearing. That’s the air going into the milk! If it sounds like a cartoon duck, you’ve lowered too much, and you’ll end up with a very dry fluffy texture that won’t pour. Stay in the tsch, tsch, tsch position until the pitcher starts to feel slightly warm to the touch. Carefully lift the pitcher to cover more of the steam wand and stop the sound. Hold that position until the pitcher feels too hot to touch on the palm of your hand, and turn off the steam wand. Immediately clean up, wiping the steam wand with a damp towel, and you’re done. Now it’s time to pour!
Pouring Milk
Before you start your pour, you want to get the milk moving. Give a gentle tap to break any big bubbles that might be on the surface, and swirl the pitcher in a circular motion. The milk surface should look shiny and smooth. Without allowing the milk to sit and settle, you’ll want to start the pouring motion. It can be helpful to remember this little rhyme:
High and slow (2-3 inches above the surface of your espresso)
Come down low (bring the tip of the pitcher within a centimeter of the surface of the liquid)
Increase the flow (pour with more pace towards the end to cause your design to grow)
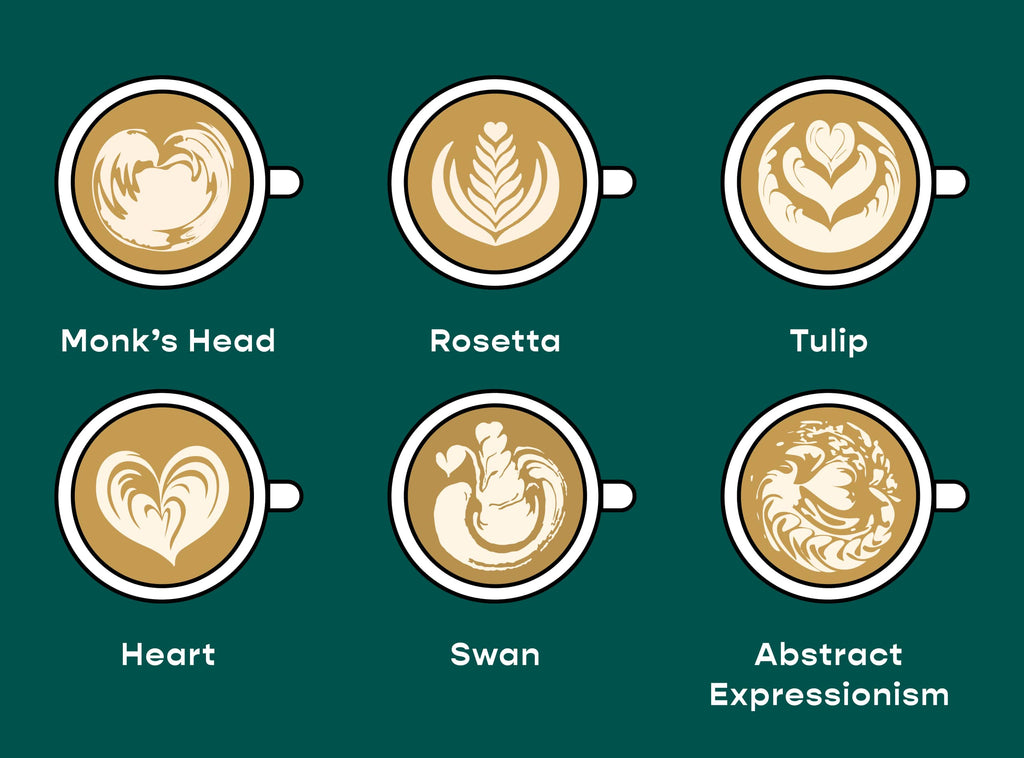
If you follow these steps while pouring into the center of the cup, you’ll create the most basic latte art design: the Monk’s Head. It’s basically a big white dot in the center of your cup. If you practice and master this technique, you’ll be ready to move on to the next steps, incorporating the movements needed to create hearts, tulips, and eventually rosettas.
Non-Dairy Milk And Coffee

Whether you are lactose intolerant, vegan, or just not interested in dairy milk, delicious lattes are not beyond your reach.
The original alternative milk in specialty coffee was soy. If you were in coffee back in the 90’s and 00’s, you probably have flashbacks to steaming soy that gave really inconsistent results. Why would that happen? Usually, it was because the makeup of protein, sugar, and fat in classic soy milk is not the same as in whole milk. The best you could do is make sure you gave the milk a good shake.
Today there are so many better options—almond, oat, pistachio, coconut, pea, macadamia nut, just to name a few. The biggest change that impacts milk steaming is barista-specific milk. These are milks that use additions of fat and protein to balance the mix so the milk more closely mimics cow’s milk. Latte art with these milks often looks as good as art made with traditional dairy!
Thanks for joining us on this journey through the milky way! Want to learn more? Join us for a virtual or in-person class.


